In this article, you will learn how to create your availability period for your client to schedule appointments and how to add your coaching location(s)
Go to instruction video
1. Go to _Menu_ on the top left of your screen
2. Click on _Settings_
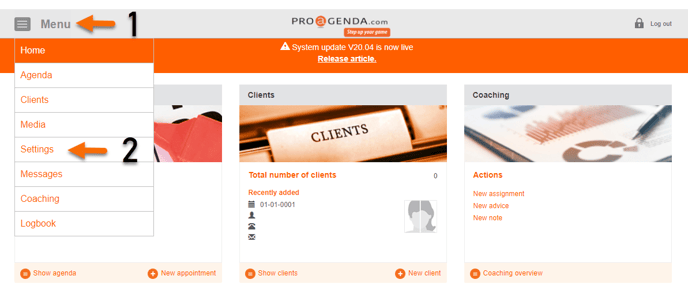
4. Click on _New_

5. Click on _Select a country_
6. Select your country 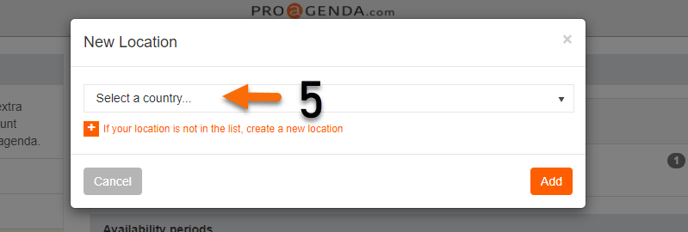
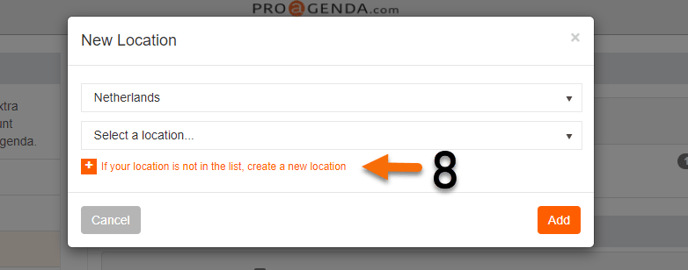
7. Click on _ Select a location_ and select your location
8. If your Location is not available, click on _If your location is not in the list, create a new location_ . If your location is available, skip to step: 11
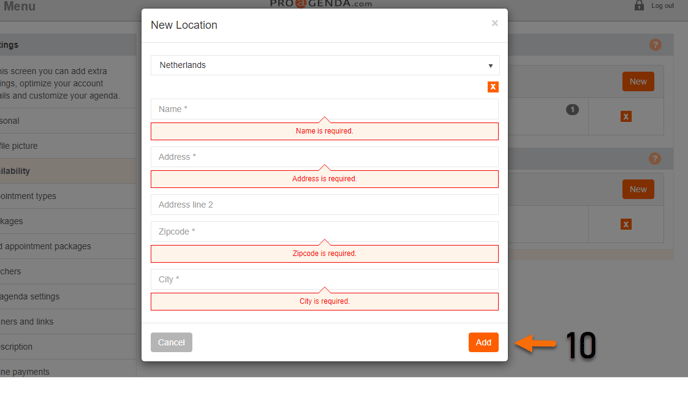
9. To add your location fill in the name and address of the location
10. Click on _Add_
11. You will now see your location listed on the availability locations
12. To add a second location click on _ New_ * Optional
13. Follow the previous steps from step 5
14. After adding the locations a new table will appear called: availability periods
15. to add availability, click on _New_

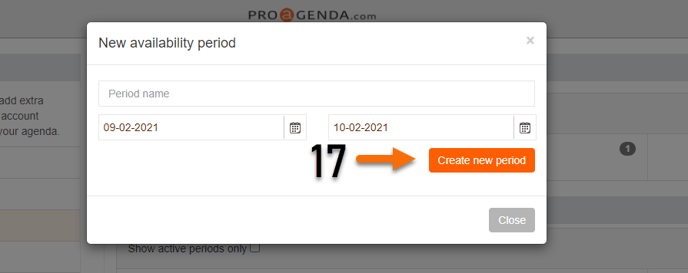
17. Click on _ Create new period_
18. Check the box on the days you are available in this period
19. Select the starting time
20. Select the ending time
21.Do this for every available day
22. Your availability will automatically be saved
23. Click _Close_
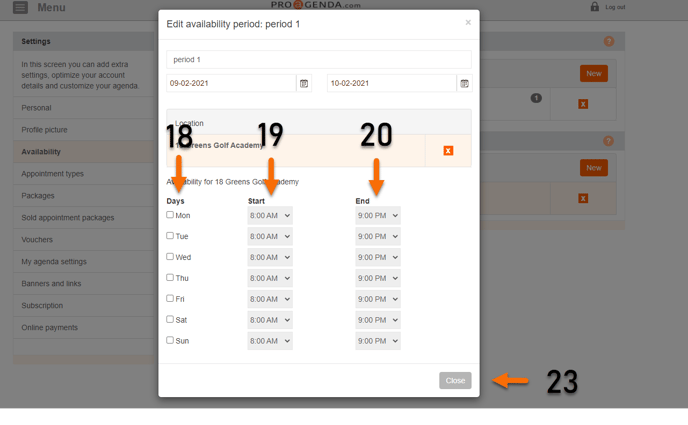
24. To change the availability, click on the named period and the same window will open
25. Change the availability and click on _Close_
You can create one big period, for example the entire year or you can create multiple periods. The system will make sure there is never any overlap in availability
This will be your base availability to work from. If you want to open or close your schedule on specific days or periods, you will have to do this in the agenda
